Set Up Your Export Connection for Context Studio
To export a Context Studio package, Coactive needs somewhere to send the file. A Context Studio export connection links your S3 bucket to Coactive so your package JSONs land in your storage — the locked first export for every package, plus every delta for a recurring package.
You need this connection before you can export. Set it up once and every export (fixed or recurring) drops straight to your bucket.
Connections are org-wide and managed by Organization Admins — the Settings menu is only visible to admins. If you don’t see it, ask an admin on your team.
What this enables
- Exporting a package’s JSON directly to your own S3 bucket
- For recurring packages, automatic delta drops to that same bucket on every run
- A confirmed Full export path shown in the Export Bundle step, so you always know where files are going
Create the connection in the UI
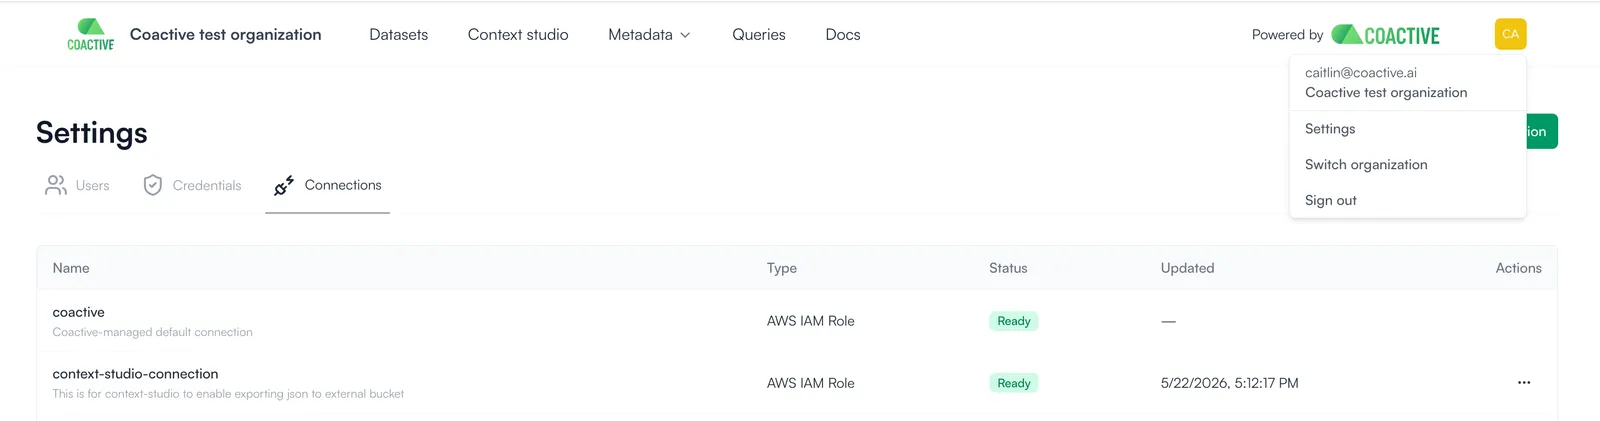
- Open Profile Menu → Settings → Connections.
- Click New connection and choose AWS IAM Role, then the S3 scope.
- Fill in the fields. Here’s an example of what a Context Studio export connection looks like:
- Click Create.
When you enter the bucket name / path, do not include the s3:// prefix. Enter it as my-bucket — not s3://my-bucket. Including s3:// will cause the connection to fail to save.
For the AWS-side setup (creating the IAM role or bucket policy), see Cloud Storage Access (Beta).
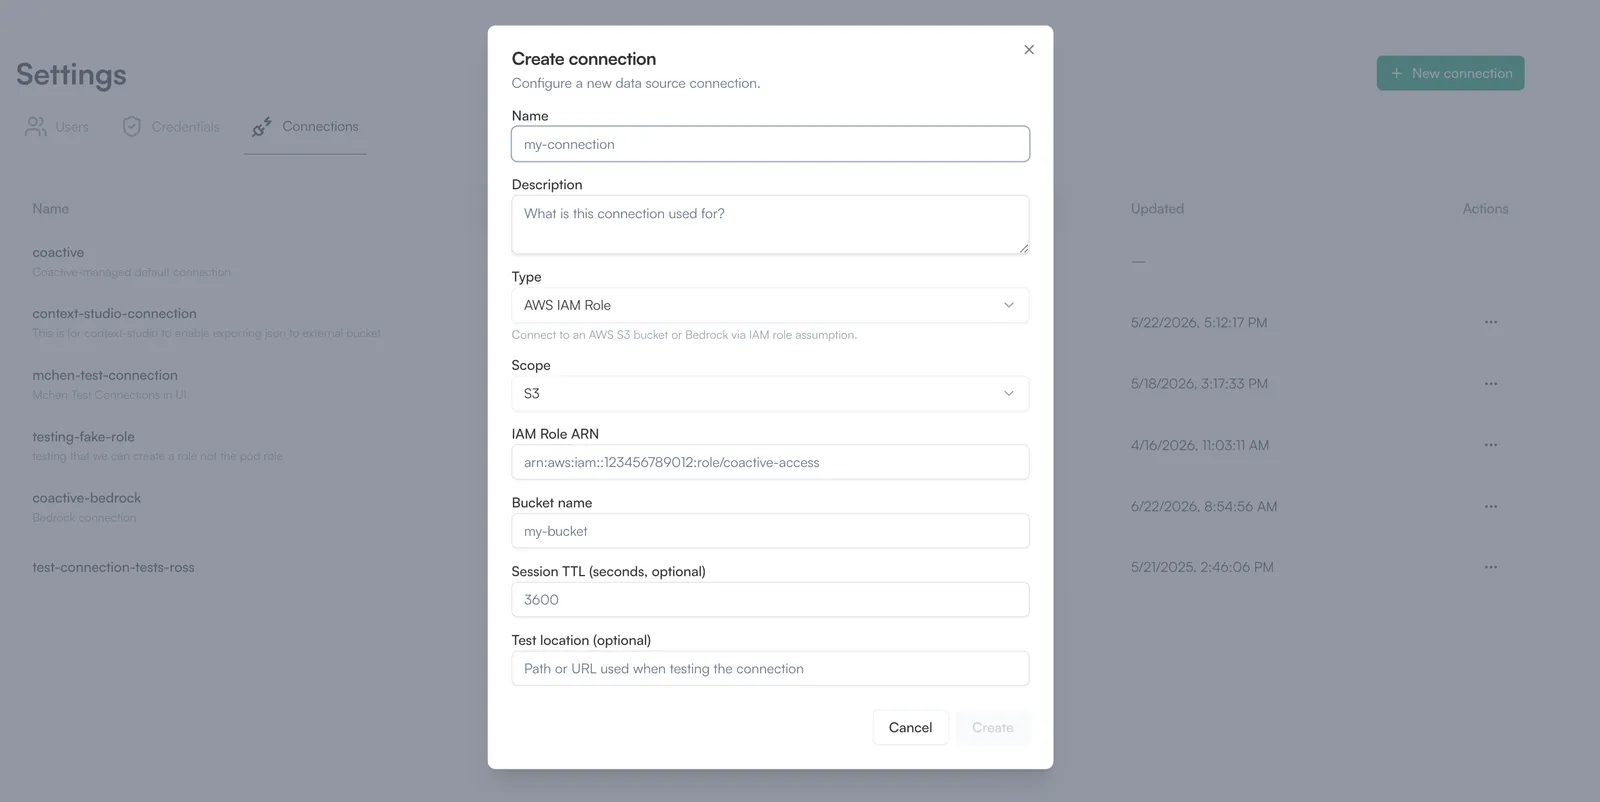
After a connection is created, only its Name and Description can be edited. The scope, IAM Role ARN, bucket name, and TTL are read-only and to change any of those, please delete the connection and create a new one.
Activate it with a test file
A new connection stays in PENDING until it tests successfully against a real file — it can’t be used for exports until then.
- The Test location must point to a specific file in your bucket (e.g.,
my-bucket/test-file.json), not a folder. - Once the test passes, the connection moves to READY and is available in Context Studio.
Export your package
With a READY connection in place, the export flow uses it automatically:

- In Context Studio, click Export Bundle and choose Fixed or Recurring, then complete the flow to export.
- Your JSON is written to the S3 location on your connection. For a recurring package, the first JSON drops immediately and every later delta auto-exports to the same location on each run — no manual trigger.
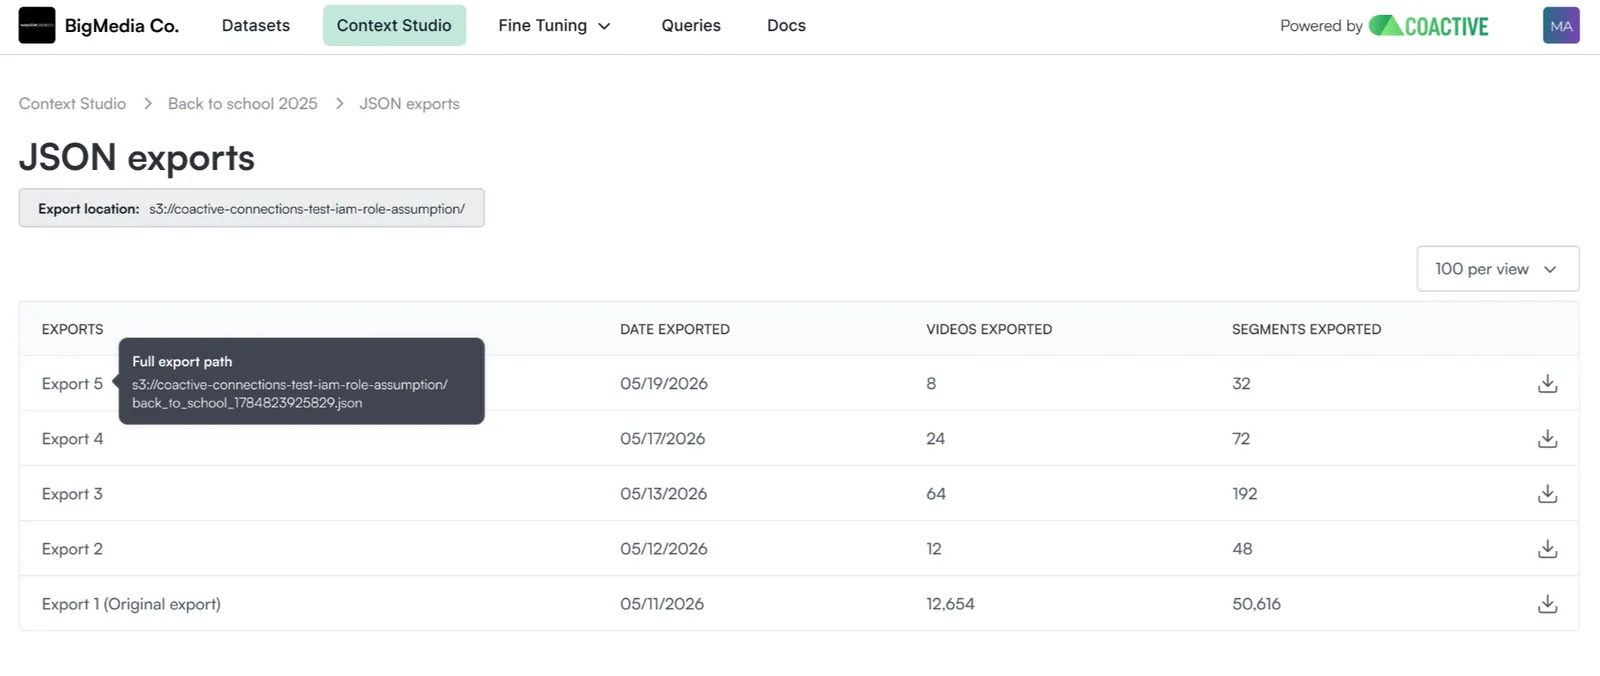
You can confirm where files are going on the package’s JSON exports page: the Export location (your connection’s S3 path) is shown at the top, and hovering any export row reveals its Full export path — the exact file, e.g. s3://my-bucket/back_to_school_1784823925829.json.
See How to Build a Package for the full export walkthrough and Recurring Packages for recurring behavior.